
THE QUICK ANSWER
What should you know first?
Build a photo map by shooting wide orientation frames, then mid-range boundary frames, then close-ups with a scale reference, and label each photo with its location and direction. This gives a restoration estimator a visual scope map before anyone quotes extraction, drying, or reconstruction. Keep water-damaged electrical areas off-limits and call qualified help if the source is still active.
Prepare your questions ↓AT A GLANCE
The decisions behind the quote.
Source repair vs. cleanup
A plumber or licensed trade repairs the pipe, fitting, or fixture. Cleanup addresses water, debris, and drying. These are separate scopes and may appear in separate quotes.
Extraction vs. reconstruction
Extraction removes standing water and saturated material. Reconstruction replaces drywall, flooring, trim, or cabinets after drying. One quote may include both, or only one.
Quote scope vs. final cost
A quote describes planned work and assumptions. Ask whether the written price is fixed for a defined scope or an estimate, and how any added work would be approved.
01 / UNDERSTAND THE PROCESS
Why a photo map beats a folder of random damage pictures
A restoration estimator reads photos to understand boundaries: where water started, how far it traveled, and what materials it touched. Random close-ups of wet carpet do not show whether the loss is confined to one room or has reached a hallway, closet, or ceiling below. A photo map gives sequence and location, so the estimator can compare your situation to the scope they might propose.
This matters because plumbing losses often involve two different trades. A plumber repairs the failed supply line, drain, or fixture. A cleanup or restoration provider extracts water, dries structures, and may remove damaged material. If you only photograph the pipe, you miss the cleanup scope. If you only photograph wet flooring, you miss the source repair question. Capture both when it is safe to do so.
02 / UNDERSTAND THE PROCESS
The three-distance photo method
Use three distances for each affected area. First, a wide orientation shot from the doorway or room entrance. Second, a mid-range shot that shows the relationship between the source area and the damaged materials. Third, a close-up with a scale reference. This sequence lets someone who has never entered the home understand the layout and extent.
- Wide: stand at the entrance and capture the whole room, including ceiling and floor edges.
- Mid: move closer to show the wet boundary, cabinet base, or ceiling stain in context.
- Close: photograph the source area, material damage, or moisture line with a coin or tape measure for scale.
- Boundary: photograph where wet material meets dry material, such as carpet to tile or baseboard to drywall.
- Label: note room name, direction faced, and whether the photo was taken before or after any moving of items.
03 / UNDERSTAND THE PROCESS
What to photograph for a plumbing loss
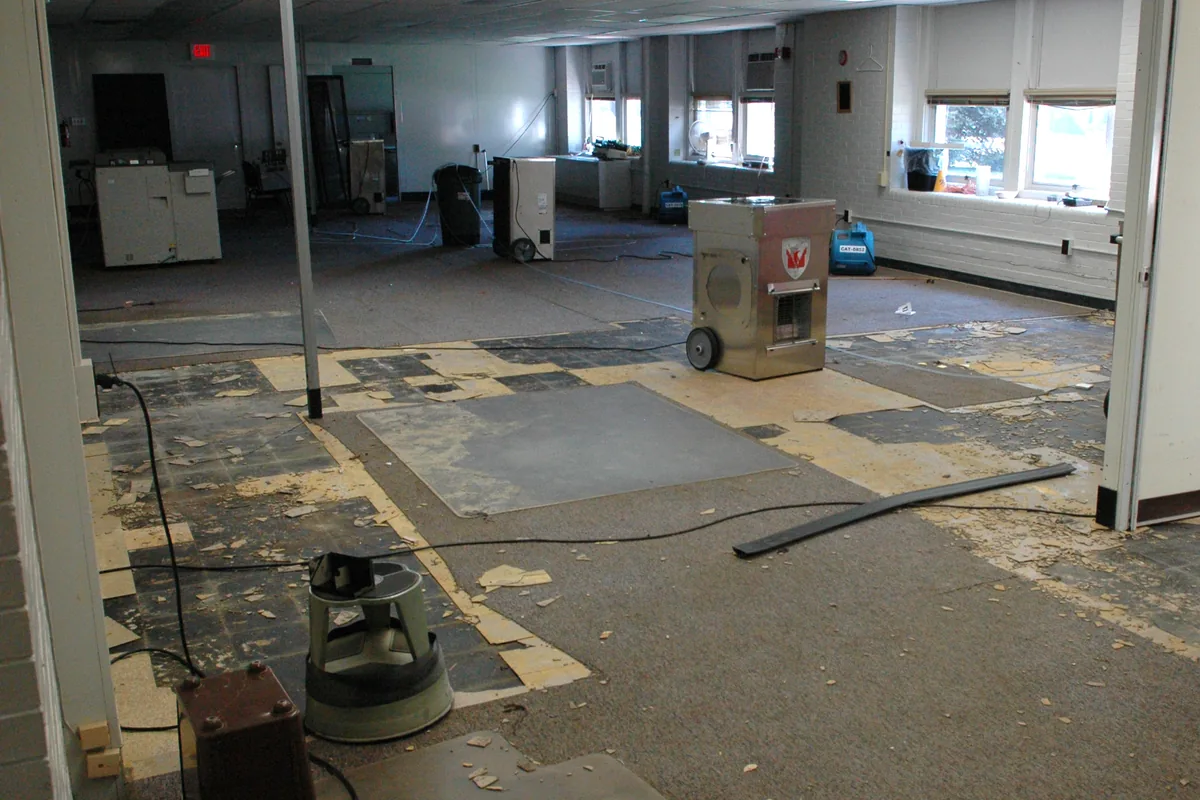
Start with the source if it is safe and visible. A supply-line leak under a sink may show staining on the cabinet floor. A water heater leak may show rust or moisture at the base. A drain leak may show staining on a ceiling below. Do not open walls or move appliances to find the source. Photograph what is accessible and note what is not.
Then photograph the path of water. Water follows gravity and gaps. It can wick up drywall, travel along joists, and appear in a room that seems unrelated to the fixture. Capture floor transitions, baseboards, door frames, and ceiling stains. If water reached a closet or adjacent room, include a wide shot from that room's entrance so the estimator can see the connection.
- Under sinks: cabinet floor, back wall, and supply lines if visible without moving stored items.
- Water heater: base, pan, nearby floor, and any staining on walls.
- Ceiling below a bathroom: stain shape, size, and relationship to fixtures above if known.
- Floor transitions: carpet to tile, wood to concrete, or room to hallway.
- Baseboards and wall seams: water lines, bubbling paint, or soft material.
- Exterior walls: moisture at the base or near plumbing penetrations.
- Adjacent rooms: wide shots showing how water traveled through doorways or along walls.
04 / UNDERSTAND THE PROCESS
Safety boundaries: what not to photograph up close
Do not enter standing water if electrical outlets, cords, appliances, or panels are nearby. The CDC advises avoiding electrical hazards after flooding, and the same caution applies to plumbing losses with water near electrical systems. If water is actively spraying or pooling near electrical equipment, leave the area and contact qualified help. You can still take a wide photo from a dry, safe distance if it does not put you at risk.
Avoid touching contaminated water or sewage with bare hands. If the loss involves a toilet, drain, or other potential contamination, keep a safe distance and let a qualified professional assess it. Photograph from outside the affected area. Do not delay reasonable mitigation like shutting off a valve if you can do so safely, but do not prioritize photos over personal safety.
05 / UNDERSTAND THE PROCESS
How to label and organize the photo map
Create a simple naming system. Use the room name, direction, and distance. For example: Kitchen - wide from doorway; Kitchen - mid under sink; Kitchen - close cabinet floor with scale. If you take photos on a phone, you can add captions in a notes app or rename files when you transfer them. The goal is that someone else can follow the sequence without asking you what each photo shows.
Group photos by area and then by distance. If you have photos from before and after moving items, keep them in separate groups. Note the date and time if your phone does not automatically include it. If you speak with an insurance adjuster, ask whether they prefer a specific upload method or file format. The Texas Department of Insurance offers general claim tips that may help you organize documentation, though requirements vary by policy.
06 / UNDERSTAND THE PROCESS
Quote preparation: questions that separate scope from cost
When you contact a cleanup or restoration provider, share your photo map and ask what the quote includes. A quote for extraction and drying is different from a quote for reconstruction. A quote for source repair is different from both. Ask whether the provider handles source repair, or whether you need a separate licensed plumber. Ask whether the quote assumes access through open walls or floors, and what happens if hidden moisture is found.
- Does this quote include source repair, or is that a separate trade?
- Does it include extraction, drying equipment, and monitoring?
- Does it include removal of damaged materials, or only drying?
- Does it include reconstruction such as drywall, flooring, or trim?
- What assumptions could change the final cost?
- How will you document hidden moisture if you find it?
- What is the process if my insurance adjuster needs to review the scope?
If you need a starting point for a plumbing loss that involves a burst pipe, the Burst Pipe Cleanup guide explains common cleanup steps and when to call for help. Use it alongside your photo map to prepare questions, not as a substitute for a professional assessment.
07 / UNDERSTAND THE PROCESS
What to do next
Stop the source if it is safe. Take wide, mid, and close photos from dry areas. Label them by room and direction. Avoid electrical hazards and contaminated water. Then contact a qualified plumber for source repair and a cleanup provider for extraction and drying. Share your photo map before the visit so the estimator can prepare. Ask whether the quote covers cleanup, drying, reconstruction, or all three, and keep a written record of what each provider says.
YOUR WRITTEN-SCOPE CHECKLIST
Turn the conversation into clear answers.
Check an item when you understand how it is addressed in the written scope. These checks organize your questions; they do not certify the condition of a property.
CHECK A WRITTEN ESTIMATE
What do the listed charges add up to?
Enter amounts from an estimate you already have. This adds your figures; it does not predict restoration prices. Blank fields count as zero, so confirm missing charges with the provider.
Only the amounts entered are included. Taxes, rebuilding, source repair and changes may be additional.
FREE QUOTE-PREPARATION TOOL
Know what to say when you call.
Build a short description using what you already know. Your notes stay on this page; this does not send a request or book service.
Your call notes
Questions to ask: Photograph wide, mid, and close views with labels, keep wet electrical areas untouched, and use the map to ask whether a quote covers source repair, cleanup, drying, or rebuild. Do you serve my address? What assessment fees apply, and what is excluded?
Common questions
Should I move furniture or belongings before photographing?
Only if it is safe and does not require entering standing water near electrical outlets or cords. Photograph the scene as found first. If items must be moved for access, take a photo before and after so the estimator can see what changed.
How many photos are enough for a plumbing-loss estimate?
There is no fixed number. Aim for a wide, mid, and close view of each affected area, plus boundary photos where wet material meets dry material. More important than count is coverage: entrances, corners, transitions, and the source area if safely visible.
Can I use my phone photos for an insurance claim?
Yes, phone photos are commonly used for documentation. Keep original files if possible, note the date and time, and avoid editing beyond simple labels. Check your policy or ask your adjuster about specific documentation requirements.
What if the water came from a unit above mine?
Document your ceiling, walls, and floor, and note the room above if known. Your photos help show the path of water. Responsibility and insurance coordination can depend on the building, policy, and local rules, so ask your property manager or insurer how to proceed.
YOUR NEXT STEP
A clearer conversation.
A more useful quote.
Have your ZIP code and property details ready. Confirm address coverage, fees and the proposed scope before booking.
Call for Quote · (833) 628-1561 ↗Houston Water Recovery connects callers with independent providers. Availability, qualifications, work and pricing are confirmed by the provider.
Sources & further reading
This guide explains public guidance and questions to ask. It is not a property assessment or a documented customer case, and no technician review is claimed.
CDC: Electrical hazards after flooding ↗EPA: Flooded homes cleanup guidance ↗Texas Department of Insurance: Claim tips ↗